I have planned trips now in 34 countries and in countless cities around the world, and I can honestly say that Chile was one of the more challenging trips to plan. There seems to be less information, less blogs, and some outdated information on this area of the world. Understandably, Chile, like other countries, took a large hit during the pandemic and tourism is slowly making a comeback. The Chilean government has also had its struggles and political unrest over the past years which, in the eyes of some, has made it a “less appealing” or “more dangerous” place to visit. I will provide more details on Santiago and Valparasio and safety in another post. However, with this post focusing on Puerto Natales & Torres Del Paine National Park, safety and politics were not of high concern. I want this to be as comprehensive a planning guide as I can possibly make. I hope to make this trip easier for those that are planning and hope that more information continues to become available so that more people can make this epic journey!
Choosing a Tour Company (You don’t HAVE to)
If you are planning to hike the “W” in Patagonia, whether you do the express trek (4 days) or the 5 day trek, most people will have a company organize this for you. This is very convenient and helpful if you pick the right company. I was very displeased with the company that we chose to use for the process. Luckily, we are savvy travelers and everything worked out due to our ability to adapt and change plans. In this post you will learn from my mistakes to plan your perfect W trek.
If you’re looking into these treks, or any other trek in Torres Del Paine, I would absolutely recommend booking with a company that is on the ground in Puerto Natales. We booked through a “middle man” company and it was unnecessary and inconvenient in the end.
There are two groups that own and run the Refugios in the park. You can book all of your accommodation on your own through them (details below). Refugios are similar to a hostel, they offer different types of boarding, meal plans, and other amenities. The two that run in the park are “Las Torres” and “Vertice”. Knowing what I know now, I recommend that you use BOTH companies and do not stick with one specifically on your hike. Find a company that will help you to do this, or book and plan on your own, which I will explain next. Both have options for dorm style rooms, camping, and other accommodation such as eco-domes. Our company booked solely with Las Torres. This caused us to end up at the same campsite twice unnecessarily, which I would not recommend. We rebooked ourselves into a different situation, but I wished I had known what we were set up for before we had gone.
Booking on Your Own: You CAN do it!
Knowing what I know now, I would just book this trek on my own. Here are some VERY simple steps for how.
PLEASE reach out me via email if you would like support in doing this yourself, I would be happy to help. planformedani@gmail.com
You could also do this exactly in reverse. Which I actually think would be AWESOME! Mainly because it would be great to have the Torres as your grand finale.
- Purchase ticket to enter Torres Del Paine National Park for your dates
- Purchase your bus ticket from Puerto Natales to Torres Del Paine on your entry date, and a return bus ticket from Pehoe Lake back to Puerto Natales on your exit date.
- For night 1, purchase camping or dorm and full board at Refugio Central (Las Torres)
- For night 2, purchase camping or dorm and full board at Cuernos if you want a little more ease of comfort, or Frances if you want the hiking days to make a little more sense. (Las Torres)
- For night 3, purchase camping or dorm and full board at Refugio Paine Grande. (Vertice)
- Optional: If you want to add another night to your hike here you could book Refugio Gray (Vertice) then you would hike back the following day to get the catamaran.
- Purchase catamaran ticket, in advance or on the boat itself, to get to Pehoe Lake.
Flights & Planning Your Timing
If you are starting your trek from within Chile, it is likely that you will be flying down to Patagonia. If you are coming from Argentina, it is possible you’ll be on a flight or a bus. When you are planning your trek, it is a smart decision to arrive in Puerto Natales a day or two before your trek. You definitely don’t want to miss your start day of trekking for any reason, so giving yourself at least a day in between to make sure transportation goes as planned is a smart choice. Everything worked out well for us, but I am still glad we gave ourselves the time in case it didn’t.
Almost every blog, website, brochure, even my own tour company, told me to fly into Punta Arenas and then get a bus up to Puerto Natales. When I had been searching flights, I realized there was an airport in Puerto Natales. I was very confused as to why in the world people would fly to another town and then drive up, if you could just fly right to Puerto Natales? There are some tours to see penguins in Punta Arenas, which is one reason we heard some people made that journey. Otherwise, it made no sense to me.
I reached out my tour company (who I already mentioned I was not happy with), and they told me flights to Puerto Natales get cancelled all the time. That made me nervous, but I really didn’t want to take no for answer on this one. I reached out to my hotel, and they said that any flight SKY Airlines or LATAM Airlines had into Puerto Natales was a safe bet. I took the bet. We flew SKY Airlines both ways. I am so glad we did, it was quick, easy, and direct. We saved time and were very happy with it. I was also advised by my hotel that JetSmart airline had some cancellation issues in the past. This is why I went with SKY, even though JetSmart was cheaper (I wasn’t going to push my luck). We saw JetSmart flights going off without a hitch on our trip. You’ll have to make that choice on your own. I generally find that hotels give honest answers to questions like that.
SKY is a budget type airline, so they will charge you for all of the things up front. It helps to bundle the baggage, boarding, seat choice, etc. It also was considerably cheaper to book earlier. As we got closer to the trip date I watched prices increase quite rapidly. I would definitely advise booking early.
The Trek We Did: W Express Day by Day
Day 1: You will start with a bus from Puerto Natales to the National Park. Most of the busses left at 7am. Your company should arrange this for you, if not, you will need to book your own bus. When you arrive, you should check into your accommodation at Refugio Central. This can feel a bit intimidating as it is your first day in the park and you basically walk in, check-in, and start the hike. One thing that we did not know, which was very helpful, was that you can leave your bags at camp and hike up the Torres without having to carry everything. We quickly adjusted and put most of our things in one bag to leave behind, and took just what we needed for the day in our other pack, which we took turns carrying.
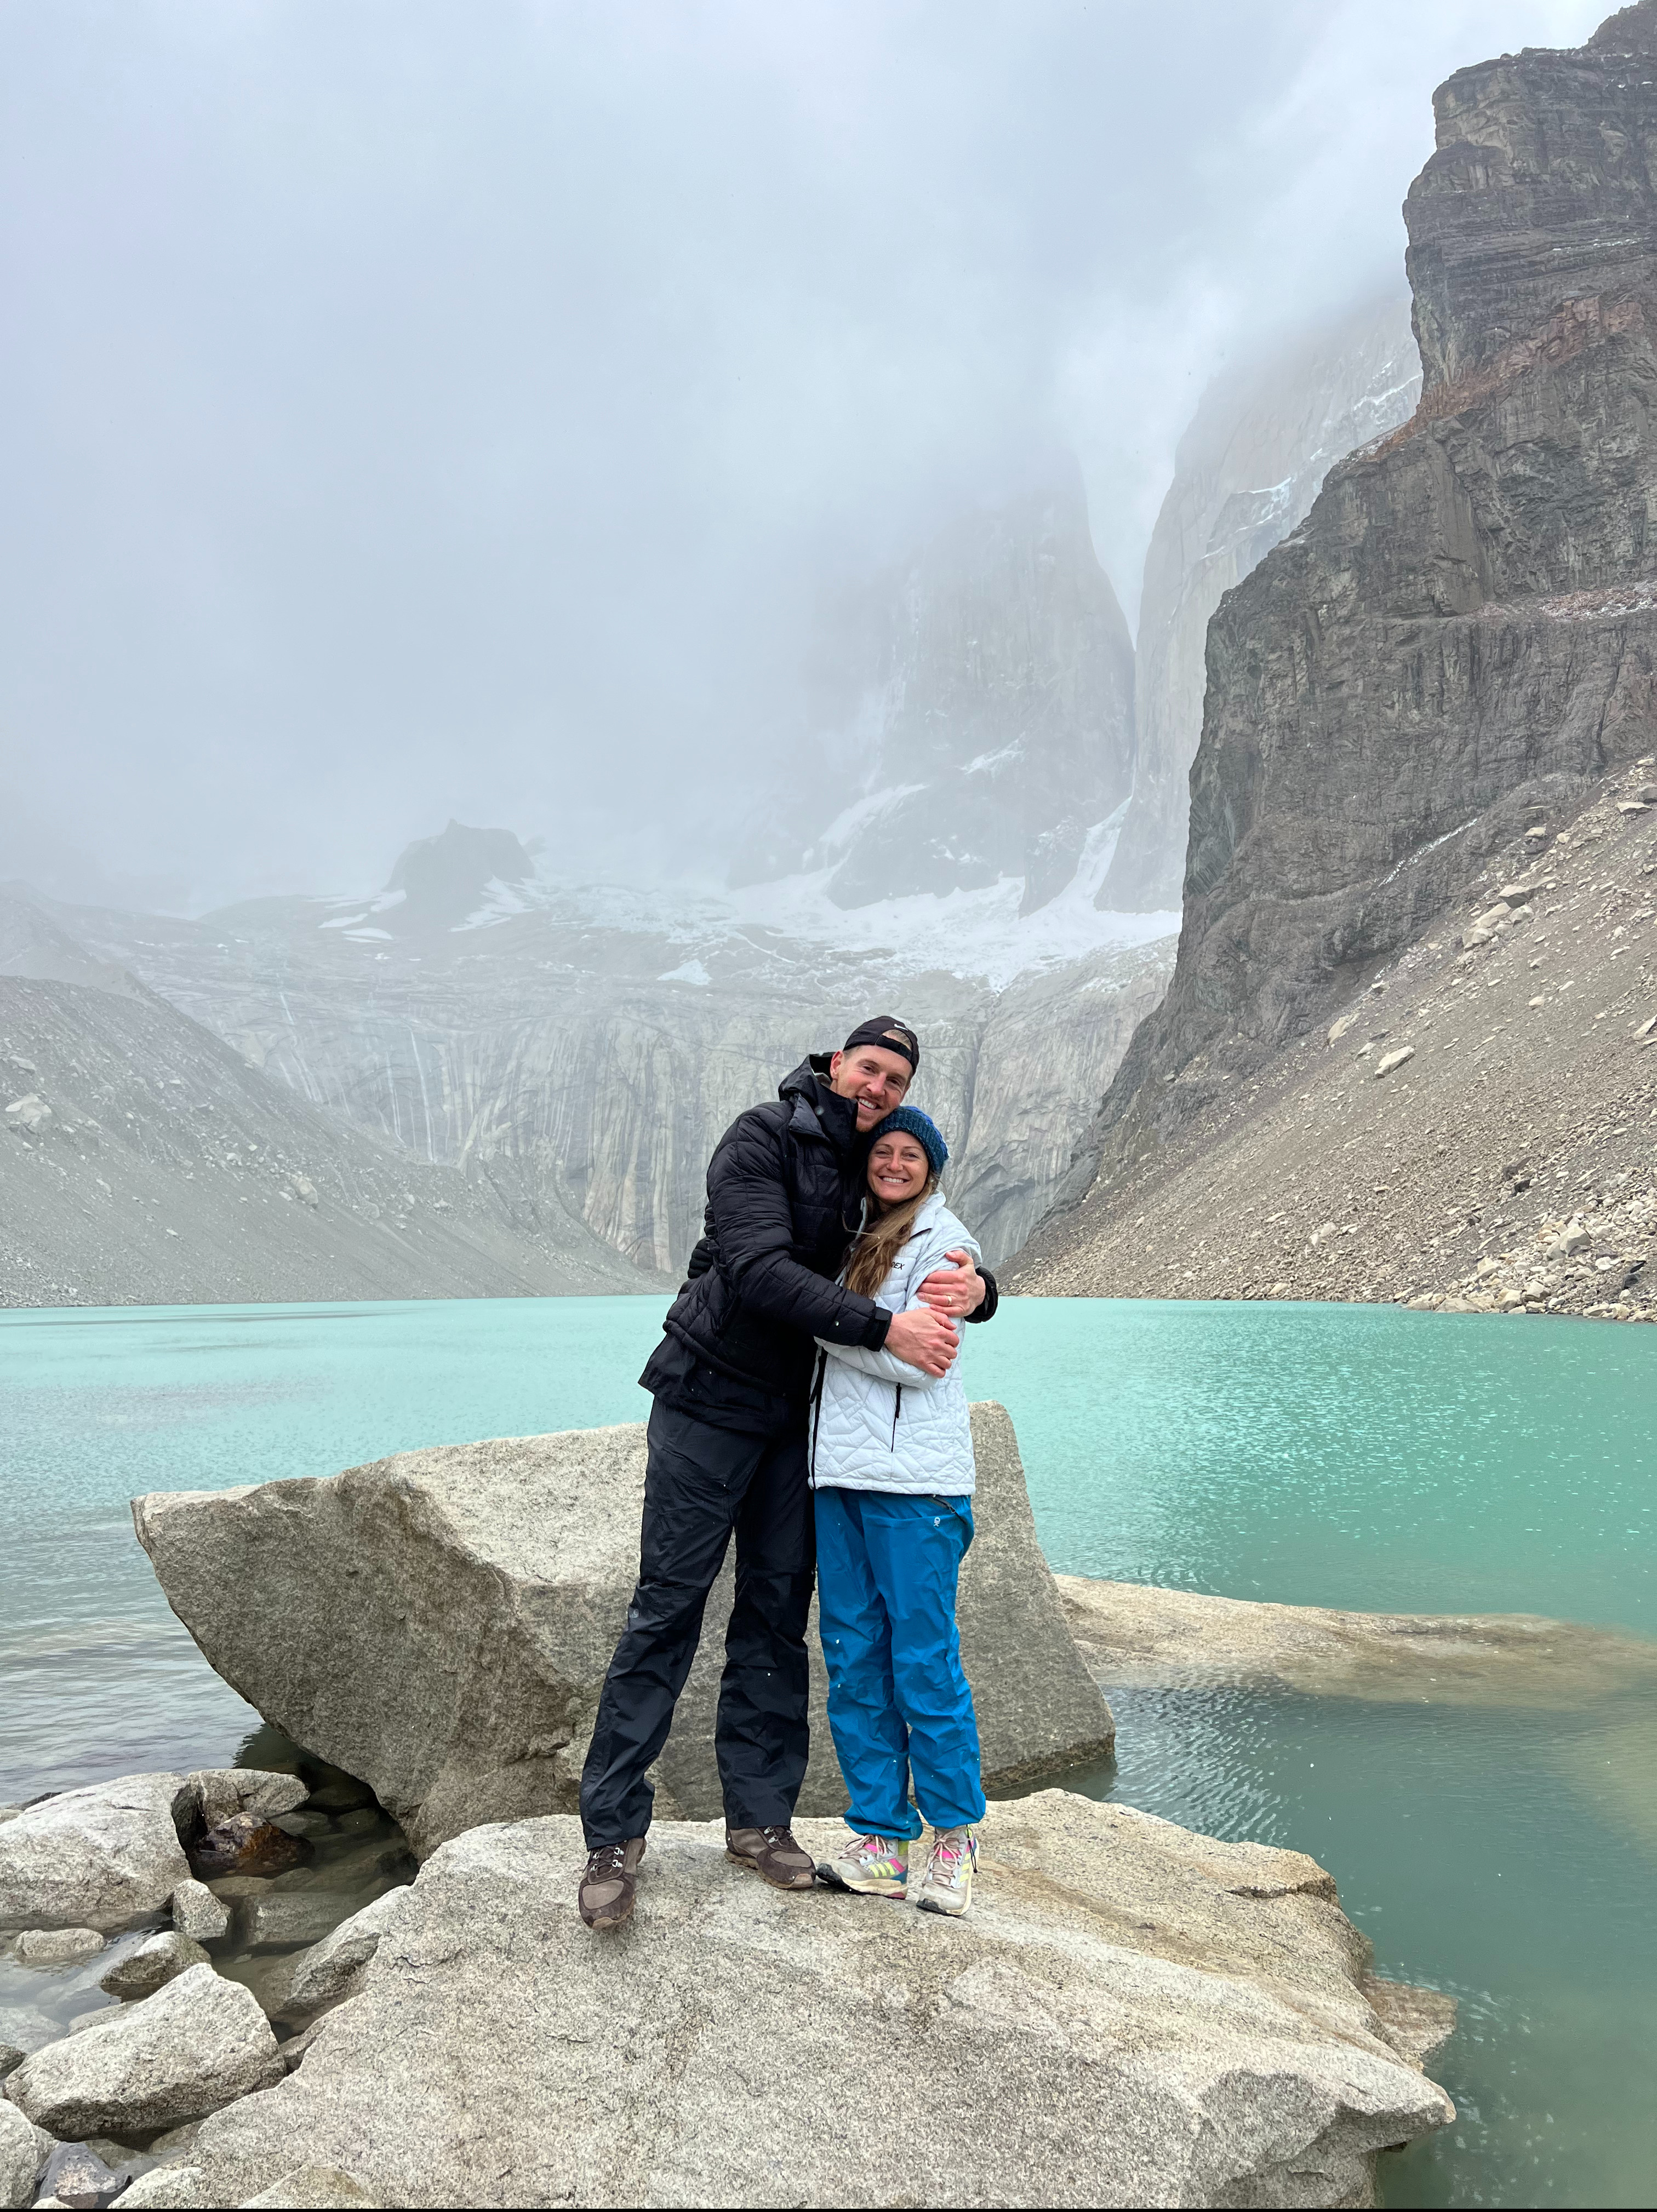
Today, you will hike to Base Torres which is arguably the best part of the whole 4 days. It is the view you came to see, and a major attraction of the whole park. The hike took us about 7 hours round trip with stops for lunch and snacks along the way. They say you should always be prepared for unpredictable weather in Patagonia. We knew this going in, but it’s hard to imagine it until you actually experience it. At the start of our trek, it poured rain for a solid hour. The next few hours were comfortable temperature-wise with no precipitation. As we started getting higher into the mountain, it began snowing. It snowed the entire way up to the Mirador, and the whole time we sat there taking it in and eating our lunch. On the way down, the sun came out and it ended up being t-shirt weather for the end of our hike and the remainder of the day.
The way you pack is VERY important and I have a section on this included in this post. The view of the Torres is incredible and worth every strange weather incident and step upward. When we got close, I actually couldn’t stop myself from running towards it. We didn’t get the clearest day as it was snowing, but we got a good look before the clouds fully rolled in. This is a day full of action, and when we returned to camp we were high on life. We showered at our camp, and then made the easy walk over to the Refugio to have a drink before dinner.
Refugio Central was a great place to hang out, they have nice indoor and outdoor areas that you can relax in before you eat. Dinner was basic, but filling, and it was nice to meet and chat with other travelers during dinner. The views from the Refugio and campsite are also amazing and make for an unbelievable first day. Day 1 was likely my favorite day of the whole trek.
All of the photos below are from the same day!


Day 2: This is possibly the “easiest” trekking day. We knew that going in, so we opted for the later breakfast option and didn’t rush ourselves out of camp. The views today are absolutely gorgeous. Basically 5 hours of hiking beside the most beautiful lake you will ever see. We took way to many photos, and made way to many stops to see the view. One thing we didn’t account for that made this day a bit more challenging was the appearance of WIND! I now know that I have never experienced true wind until I was in Patagonia. This wind would knock you off your feet, or push you backwards even with a full pack on your back.
Today is a point-to-point hike, so you have to hike with your belongings. It is important to know that on this day there are a few choices for accommodation, and depending on what kind of hiker you are, you may want to choose one or the other. About 4 hours into our hike we came up Refugio Cuernos. This was a really nice looking Refugio that had beaches nearby on the beautiful lake. We heard that on a recent beautiful day some people even jumped into the freezing water. It was a great set up. We stopped here and ate our picnic lunch, and then headed on to our campsite which was at the Frances Sector.
When we arrived we were a little stunned to see the campsite because it was very different from the first one at Refugio Central. All of the tents were on platforms up in the trees and we couldn’t even see the Refugio itself from the camping area. We came to find out that the hut in which you have dinner and breakfast was about a 6 minute walk down hill from the campsite. It was far smaller than Refugio Central, and while it was adorable and cozy, there was no space to hang out unless you were having dinner. Unfortunately for us, it rained quite a bit this evening so the only time we really got to leave our tent was our dinner time.
Dinner was great and the staff were so kind and welcoming. This was our favorite meal of the trek. They informed us that we could get our breakfast early the next day so that we could get hiking early, and we took them up on that option which was great. When we walked into the Refugio in the morning our breakfast was on a table all set up and ready for us. Overall the campsite ended up fine, it was just very different from our first stop at Refugio Central and we hadn’t expected that.


Day 3: Today is the day you are scheduled to hike to see Mirador Frances and Mirador Britanico. We were scheduled to hike back and stay at the same campsite again that night. At the time we thought nothing of this, we assumed our company had timed things out well, and we’d have a full day of hiking. We are definitely a little on the faster side as far as hiking. We are very fit and we don’t take a lot of breaks. We got going early and we had completed the hike and were back at our campsite by noon.
This day of hiking is just incredible. The views are epic. You hike beside a glacier for most of the day. The two viewpoints are so impressive and we had great weather for making it to the top of Britanico. We had heard previously that sometimes it “closed” due to wind. It was hard to say, but it seems like “closed” just means that they recommend you don’t do it. We majorly beat the crowd on this one. During this hike, if you are trekking onward to another campsite, you can leave your bag at Italiano (a gov campsite) while you do the hike. When we first started the trek there was one bag there, when we came down there were probably over 100 bags and 100 people ready to start the trek we had just completed. It definitely paid off to start early. We also learned that the weather is often clearer in Patagonia if you start early. We learned as we went along that this was why some people were getting up and setting out earlier for hikes.
When we arrived back at our campsite at Frances at noon, we realized that it could be quite a long day of sitting around. Although the weather at the time was absolutely beautiful, it was Patagonia, and we knew that could change any minute. This is where I decided to deviate from the plan our tour company had made for us. Most people we had dinner with the previous night had let us know that they were moving on to Paine Grande campsite for this evening. We paid $10 for wifi to see if the Refugio over there had any availability. Luckily they had a tent available, so we booked it and off we went. We threw on our hiking gear and made the trek from Frances to Paine Grande. The Refugio there was a Vertice Refugio, and it was large and really nice. It had a bar and a large dining area for dinner/happy hour. It worked out perfectly that we continued to hike to this point. I regret that my tour company hadn’t planned for us to hike to this point today anyway, but I am glad we had the realization that we could navigate this on our own. The only unfortunate part was having to pay for the same night basically twice. But when you travel all the way to Patagonia, you want it to be the best experience possible.


Day 4: On day four we woke up and had breakfast. At Vertice Refugios, you queue for your meals. We were up right at the start time for breakfast, but still had to wait a few minutes as we were not the first people in line. The plan for today was to hike to Gray Glacier, then return to the site to get the catamaran out of Torres Del Paine.
The catamaran runs at 5 and 6 and takes you to the bus at Pehoe Lake to get back to Puerto Natales. What we weren’t told by our tour company was that people also queue for the catamaran, sometimes hours before the first one is to go, and that there is a chance that you will not make it on board. Armed with this new information, we decided to be careful about our hiking time, and make sure we were back in plenty of time to line up for the boat. The hike to Glacier Gray was not difficult as far as the terrain but was made EXTREMELY difficult by the wind! The wind was madness! I wanted to take a video to show how extreme it was, but I was afraid of my phone blowing right out of my hands. At times, it was difficult to walk forward it was blowing so hard. At first, the wind may even add a little time to your hike when it happens (which can be any moment in Patagonia). We enjoyed a great hike and beautiful glacier views and then headed back to Paine Grande to make sure were there in time for the boat.
See more information about the boat in the “things we learned” section of this post. Leaving Torres Del Paine felt like what I would imagine leaving Jurassic Park would feel like. The adventure was amazing, tiring, exciting, beautiful, once in a lifetime, and I was also happy to be going to a warm bed and shower.


Tents vs Dorms? Where to Stay and What is Included.
We only stayed in tents on our journey through the W Trek, therefore I can not speak to the quality of what a dorm room would be like. I can only give you ideas from some of the experiences of others we spoke with and our experience in the tents.
Privacy: We liked the tent for the privacy it provided, since we didn’t have to share a space with anyone else. Tents were mostly spaced out pretty well, too. I didn’t hear anyone in other tents, alarms, or conversations.
Roommates: We spoke with quite a few people along the trek who weren’t thrilled with the people they had to share dorms with, or the situations in the dorms. For example, some people were upset that their roommates didn’t want to sleep with windows open, they kept lights on too late or too early, they smelled after a day of hiking, etc.
Comfort: I was concerned about the tents leading up to the trip, I was mostly afraid of being cold. Luckily, I was never cold at all. The rented sleeping pads varied from location to location, but they did the job. The sleeping bags themselves were warm and snuggly. Make sure to bring a sleeping bag liner as these bags are being used over and over again by different people. My husband also brought ear plugs to sleep with, in a failed attempt to drown out the wind. I slept just fine without them. The tents at both Central and Paine Grande were larger than the tent at Frances, which was a bit of a shock to us when we first showed up, but it was workable.
Ease of Location: At both Central and Paine Grande, our tents were a very short walk from the Refugio. At Frances, it was a good 6 minute walk to get to dinner, and at least a 3 minute walk to get to the bathroom area. This is just something to keep in mind. At the end of the day, at Central & Paine we were able to wear our slides and move around between the campsite and the Refugio with ease. At Frances, we had to put our boots back on to go anywhere. If you were to stay at Cuernos instead of Frances, you would also be very close from the campsite to Refugio.
What to Pack
First off, you need to pack as light as you possibly can. During two of the sections of the W trek, you must carry your belongings with you from one campsite to the next. Our trek was 3 nights and 4 days, and here is exactly what I packed for our trek in late December:
-2 pairs of wool socks ( one for hiking and one for after showering each day) – 2 pairs of leggings (one fleece lined and one regular athletic) – 2 t-shirts (alternated each day) – 1 merino wool long sleeve shirt – 1 sweatshirt (I did not need this and never put it on!) – 1 warm puffer jacket – hiking sneakers, mine are adidas and I am obsessed with them – slides (for after hiking & hanging around campsite/Refugios) – merino wool hat – fleece lined gloves – waterproof pants (absolute MUST) – waterproof jacket – waterproof bag cover – 2 sports bras – sweater to sleep in & wear around Refugios – joggers to sleep in and wear around Refugios – underwear for each day plus a pair or two extra – quick dry towel – sleeping bag liner – day pack for days when you don’t have to carry your bag(this should fold up small and take up almost no space in your regular bag) – refillable water bottle – solar phone charger (you can also charge in Refugios using a regular phone charger, but the solar charger is helpful as you can charge anywhere) – kindle (we love to read & spend a lot of down time with our kindles) – soap/shampoo for showers (this is a matter of preference, some showers did have soap, but not hair products) – small lantern for the tent (it wasn’t totally needed, but it was nice to have) – sunscreen
Random Things We Learned
There were some things we learned throughout the 4 days that I felt are worth noting. Here are a few of those things, hopefully they’ll help others, or at least give you some more ideas:
- People get up EARLY to hike. We didn’t know this at the time, but many people hike in the early morning darkness to make it to a Mirador at sunrise. This is very popular for Base Torres. We heard of quite a few people leaving our camp in basically the middle of the night to be at the Torres for sunrise. I am not saying we would have done this, but its definitely something that I think would be really worth it if you knew the weather conditions were going to be fine. It may be worth asking around at the Refugios to see if this would work out for you on any given day.
- Lining up for the catamaran to exit the park can be STRESSFUL! I have heard that this can depend on the day, but for us it was definitely a source of anxiety. When we arrived at Paine Grande the day before our hike ended, we saw a queue at the catamaran. At first we thought maybe it went every hour. We quickly found out that we were wrong. People really were in line at 3:45 for a 5pm boat. We asked around and found out that this had been happening for the past few days. They said that many people didn’t make the cut off for the 5 o’clock boat, so had to wait for the 6. If you miss the 6 o’clock, you are stuck for the night and have to get accommodations again in Paine Grande. We had no wiggle room in our itinerary because we were flying out to Valparasio the following day, so we knew we had to be on that boat. We ended up getting back from our hike early, ordered a pizza and a bottle of wine, and watched until people started to queue up. Then, we went and got in the line ourselves. The 5 o’clock boat was ours. We watched as many people were turned away to wait for the 6. The only issue with this approach was that when we arrived at Pehoe Lake, we had to wait for all the people on the 6 o’clock boat to arrive before the buses left for Puerto Natales. So either way, the whole boat situation isn’t thrilling, but I would have been more at peace with it had I at least known this in advance and prepared myself for it, now I can at least prepare others! When you arrive at the bus area, there is a bathroom and small cafe you can hang out in to wait for your bus.
- Your bus to-and-from the park might not have a bathroom. This might seem like a silly thing to some, and something that isn’t worth noting, but it is important to me. I always like to know what I am walking in to. Knowing that you’re on a 1.5-2 hour bus ride, I like to know if I will have access to a bathroom or not. As you can probably guess, I did not. This was fine, I just wish I had known in advance as some other buses had bathrooms and wifi.
- Vegetarian/Vegan: Neither of us are vegetarian or vegan. It seemed like everywhere we went they had veggie or vegan options. We met some people along the way who told us they were just eating meat on this trip because they didn’t feel full enough with the vegetarian food provided. Just might be something to think about if you are a veggie or vegan person, as you may want to bring some extra snacks of your own.
- WIFI: Wifi is available at all of the Refugios for a price. You purchase a wifi code from a little machine that looks almost like an ATM. You are able to pay for 1 hour, 3 hours, or longer. 1 hour cost about $10 USD. This is really your only option for wifi along the hike if you need it.
- Carrying bags: you don’t have to carry your bags with you on every portion of the hike, although you should be prepared and capable of doing that. Day 1 you can leave your main bag and take a day pack to hike to Base Torres. Day 2 you need to bring your bag. Day 3 you can leave your bag and hike up to the miradors. Day 4 you can bring your pack and then hike to the glacier without it. So just be aware that bringing a smaller daypack is a good idea. Our company didn’t tell us this AT ALL!
Where to stay before and after the trek
We stayed in different accommodation before and after the trek because we were traveling over Christmas. I wanted to stay in a “fancy” hotel on Christmas Eve and Christmas since we were at the end of the world! For the holiday we stayed at Hotel Costaustralis. The location could not be beat, the hotel is right on the water and has absolutely beautiful views. The dining areas and lobby areas of the hotel all overlook the beautiful water and mountains and there were many spaces to relax, chill out, and just enjoy being there. It was also easily walkable to everything you would need in town. As far as comfort, we were a little disappointed to find out that the windows didn’t open all the way and it was a bit warm in the room. We also felt that for a four star hotel, the room was just not as comfortable as we would have expected. We had Christmas Eve dinner here and it was a very good meal. I would highly recommend eating here one night, even you if you don’t stay. Breakfast was also a great spread and had cooks making personalized omelettes. We had a great stay and I am glad we had that amazing view over the holiday, however, I do not believe the hotel was worth the price they charge per night.
Upon returning form the trek, I didn’t want to spend $200 a night to just sleep in a fancy hotel, so we skipped returning to Costaustralis. I booked our last night at Hotel Aquaterra and I am SO GLAD that we did. We came home from 3 days in tents to the most comfortable bed, the most cozy room, the nicest staff, and the best hot shower. It was perfect, and I could not have asked for better. The connected restaurant, “El Brisket”, was also still serving and made us a delicious meal, even though we practically got there at closing time. I would HIGHLY recommend this hotel for before, or after, your trek.
If you’re looking for more information about Puerto Natales in general I have a post about that click here.


